Skip to main content
Search
Search This Blog
CREATIVE | CARMELLA
pages
shop
instagram
Contact
More…
Posts
Latest Posts
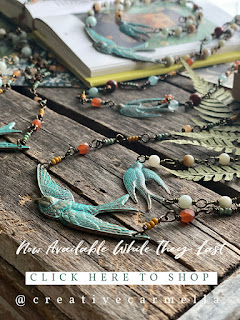
“In Flight”
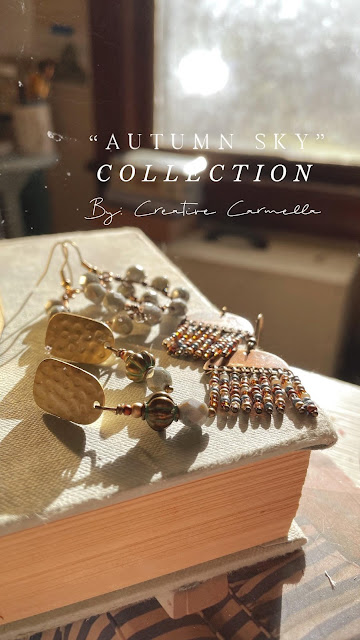
What's Inspiring Me This Season....
SHOP THE NEWEST CREATIONS HERE...
Older Posts